A leaking Tri-Clamp connection can interrupt production, create hygiene concerns, and increase maintenance costs in sanitary process systems. Although the connection design is relatively simple, reliable sealing depends on several factors: gasket condition, ferrule alignment, clamp assembly, surface quality, and operating conditions.
Replacing the gasket may solve the problem, but it is not always the right first step. If the underlying cause remains, the connection may continue to leak even after a new gasket is installed.Choosing the correct gasket material is also essential. See our guide to Tri-Clamp Gasket Materials: Silicone vs. EPDM vs. PTFE for a comparison of common sealing materials.
This guide explains the common causes of Tri-Clamp connection leaks and provides a practical troubleshooting process for hygienic piping systems used in food, beverage, pharmaceutical, dairy, and liquid processing applications.
1. Start by Identifying Where the Leak Occurs
Before disassembling the connection, identify the apparent source of the leakage, provided it is safe to inspect the equipment under the current operating conditions.
A leak at the joint between two ferrules usually points toward the gasket, sealing surfaces, alignment, or clamp assembly. Leakage originating from a nearby weld, valve body, hose connection, or instrument port may require a different inspection procedure.
Record the operating conditions when the leak appears:
- During normal production or only during cleaning?
- At startup, during temperature changes, or after cooling?
- Under steady pressure or during pressure fluctuations?
- Immediately after maintenance or following an extended operating period?
These observations can help distinguish an assembly problem from gasket degradation or a process-related issue.
Never loosen or disassemble a pressurized or hot connection. Isolate the system, release pressure, drain the relevant section, and follow the site’s lockout and maintenance procedures before inspection.
2. Common Causes of Tri-Clamp Connection Leaks
Damaged or worn gasket
The gasket forms the seal between the two ferrule faces. Cuts, cracks, swelling, deformation, chemical degradation, and permanent compression can prevent it from sealing properly.
Gaskets may deteriorate because of repeated cleaning cycles, incompatible process fluids, excessive temperatures, improper storage, or extended service.
What to check: Remove the gasket after safely isolating the system. Inspect its sealing surfaces for cuts, uneven compression, hardening, swelling, or other visible damage. Replace a defective gasket with the correct size, profile, and material specification.
A gasket that looks intact is not necessarily suitable for continued use. Follow the equipment and gasket manufacturer’s inspection and replacement guidance.
Incorrect gasket material
Silicone, EPDM, and PTFE have different mechanical and chemical properties. A material that performs well in one process may be unsuitable for another.
For example, compatibility with the product fluid does not guarantee compatibility with alkaline detergents, acidic cleaners, sanitizers, or steam sterilization cycles.
What to check: Compare the gasket’s material specification with the complete operating and cleaning conditions, including chemical concentration, temperature, exposure duration, and pressure.
For a detailed material comparison, see our guide to Tri-Clamp Gasket Materials: Silicone vs. EPDM vs. PTFE.
Misaligned ferrules
The two ferrule faces must meet in the intended alignment. If the connected pipes, hoses, or equipment nozzles impose excessive side loading, the gasket may not seat evenly.
Misalignment can result from poor pipe support, Misalignment can result from poor pipe support, incorrect installation dimensions, hose tension, or movement during operation. When checking the connection, verify that the Tri-Clamp connection type is appropriate for the piping design. hose tension, or movement during operation.
What to check: Inspect the ferrules and connected piping after isolating the system. Check whether the components naturally align without being forced into position. Review pipe supports and connection dimensions if the joint requires excessive force to assemble.
Do not use the clamp to pull significantly misaligned piping into place.
Incorrect clamp assembly
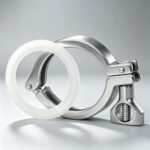
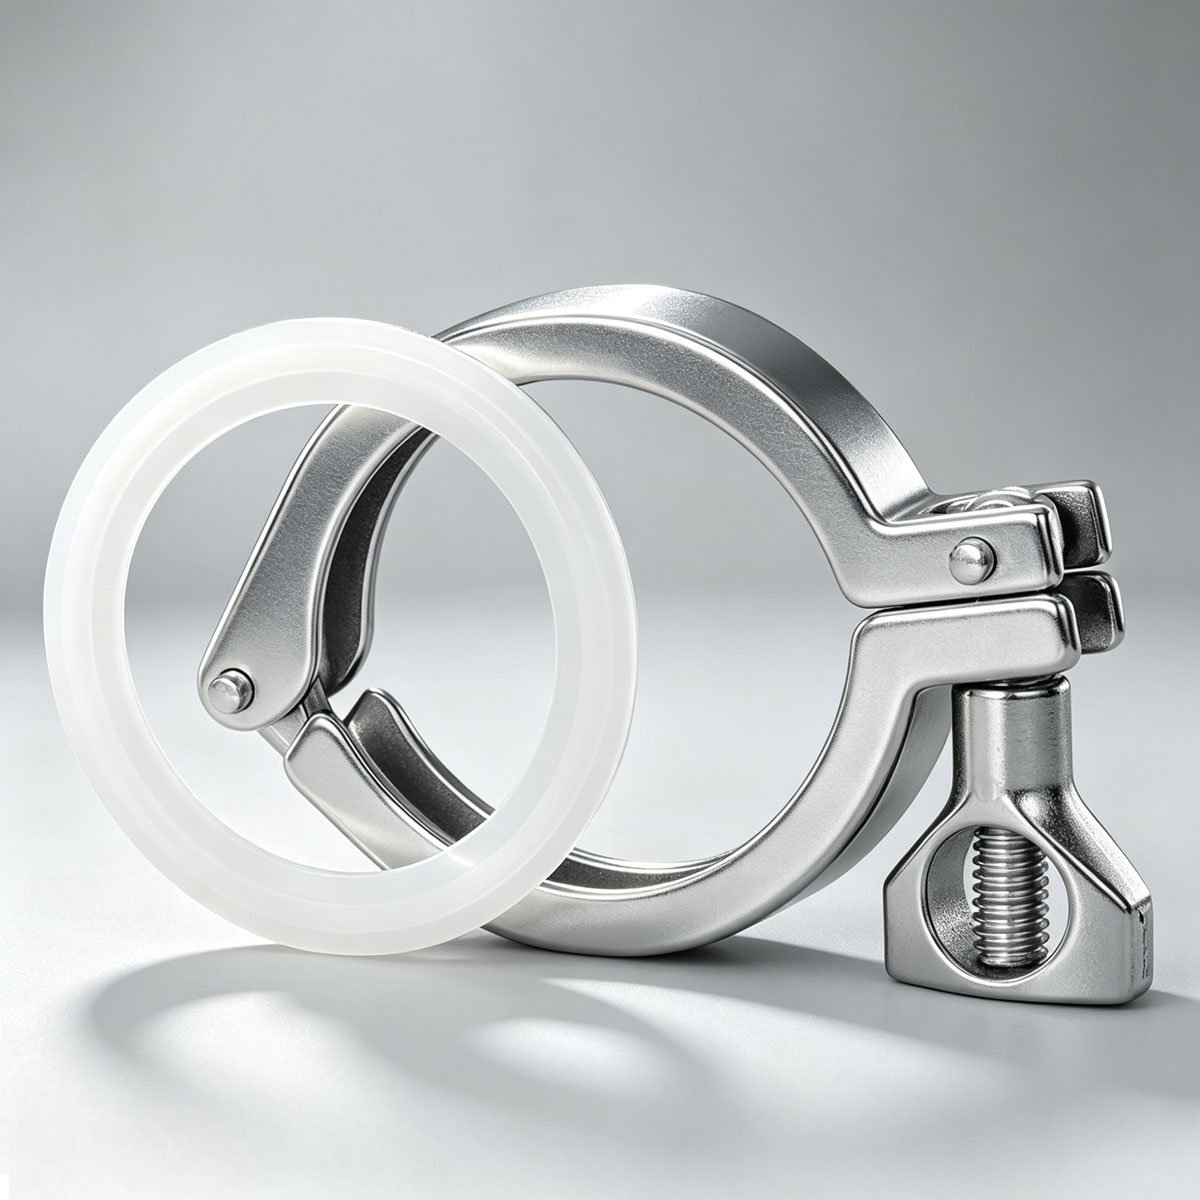
A clamp that is not properly seated, is damaged, or is unsuitable for the connection can compromise sealing. Assembly practices also matter because the clamp, gasket, and ferrules must work together as a matched connection.For an overview of the connection components and how they fit together, read our guide to Tri-Clamp fittings.
Excessive tightening is not a reliable solution to leakage. It may damage the gasket or connection components, depending on the design and installation conditions.
What to check: Confirm that the clamp is compatible with the ferrule size and connection design, that the gasket is correctly positioned, and that the assembly follows the manufacturer’s instructions. Replace worn or damaged clamp components where necessary.
Damaged or contaminated sealing surfaces
Even a new gasket may fail to seal against ferrules with scratches, dents, corrosion, product deposits, or other surface defects.
Particles trapped between the gasket and the sealing faces can create a leakage path. Rough handling during cleaning or maintenance can also damage the surfaces.
What to check: Inspect both ferrule faces for visible damage, deposits, and contamination. Clean the sealing surfaces using an appropriate procedure and inspect any suspected defects before reassembly.
If the sealing face is damaged, simply replacing the gasket may not solve the problem.
Pressure or temperature changes
A connection that seals during cold assembly may begin leaking when the process heats up, cools down, or experiences pressure fluctuations.
Temperature changes can affect gasket dimensions and mechanical properties. Pressure conditions can also expose weaknesses in an incorrectly assembled or unsuitable connection.
What to check: Record the pressure and temperature when leakage occurs. Confirm that the gasket, clamp, ferrules, and complete connection are suitable for the actual operating conditions.
Do not assume that a component’s nominal pressure or temperature rating automatically validates the assembled connection under every process condition.
3. A Practical Troubleshooting Checklist
Use the following sequence to investigate a recurring leak.
| Step | Inspection | Corrective action |
|---|---|---|
| 1 | Confirm the actual leak location | Check whether the source is the Tri-Clamp joint or a nearby component |
| 2 | Inspect the gasket | Replace it if damaged, deformed, or unsuitable |
| 3 | Verify material compatibility | Confirm compatibility with the product, cleaning agents, and temperature cycle |
| 4 | Check ferrule alignment | Correct pipe support or installation issues |
| 5 | Inspect the clamp and sealing faces | Replace defective parts and clean suitable surfaces |
| 6 | Review operating conditions | Confirm pressure, temperature, and assembly requirements |
| 7 | Verify the repair | Follow the site’s approved leak-checking and commissioning procedure |
If the connection continues leaking after these checks, investigate whether the ferrules, clamp, gasket profile, or connected piping are compatible with one another. Repeatedly tightening the clamp without identifying the cause can make the problem worse.
4. Why Does a Tri-Clamp Joint Leak After CIP or SIP?
Leakage that appears only after cleaning or sterilization deserves particular attention.
During clean-in-place (CIP), gaskets may be exposed to cleaning chemicals, elevated temperatures, and repeated thermal cycling. During steam-in-place (SIP), the gasket must also tolerate the specified steam conditions and cycle duration.
Several issues may explain leakage after a cleaning cycle:
- The gasket is not compatible with the cleaning chemicals or sterilization conditions.
- Repeated thermal cycling has degraded the gasket.
- The connection was assembled incorrectly during maintenance.
- Deposits or contamination remain on the sealing surfaces.
- Temperature changes or pressure variations reveal an existing sealing problem.
Start by comparing the failed connection’s service history with the approved cleaning and sterilization procedure. If the leak repeatedly occurs after the same cycle, review the gasket specification and the connection’s assembly and operating conditions rather than replacing the gasket without further investigation.
For tank-cleaning equipment, also distinguish a leaking pipe joint from a cleaning device or other component that is not functioning correctly. These problems require different corrective actions.
5. How to Prevent Recurring Tri-Clamp Leaks
A consistent maintenance process can reduce avoidable leakage and unplanned downtime.
Use the correct gasket specification. Confirm the connection size, sealing profile, material grade, and service requirements before ordering replacements.
Inspect gaskets during planned maintenance. Look for visible damage, deformation, contamination, and other signs of deterioration. Replace gaskets according to the manufacturer’s recommendations and the site’s maintenance procedure.
Avoid forced alignment. Ensure that pipes, hoses, and equipment connections are adequately supported and correctly positioned before assembly.
Keep sealing surfaces clean and protected. Prevent debris from entering the joint and avoid damaging ferrule faces during handling or maintenance.
Follow the correct assembly procedure. Use compatible components and the manufacturer’s instructions for clamp installation and tightening.
Track repeated failures. Record the gasket material, operating conditions, cleaning cycle, location, and maintenance actions. Patterns in these records can help identify a material compatibility issue or a recurring installation problem.
6. When Should You Replace the Gasket or Inspect the Connection?
Replace a gasket when it shows damage, degradation, or other conditions that make it unsuitable for service. Also verify its material and dimensions if the existing gasket specification is unknown.
Inspect the broader connection when:
- A new gasket does not stop the leak.
- Leakage repeatedly returns after maintenance.
- The ferrules show scratches, dents, corrosion, or deformation.
- The connected piping does not align naturally.
- The leak appears only under particular pressure, temperature, or cleaning conditions.
If the connection components are damaged or incompatible, replacing the gasket alone may provide only a temporary improvement.
Conclusion
Tri-Clamp connection leaks are commonly associated with gasket damage, material incompatibility, ferrule misalignment, incorrect clamp assembly, damaged sealing surfaces, or unsuitable operating conditions.
The most effective troubleshooting approach is to identify the leak location, inspect the gasket and connection components, verify the process conditions, and correct the underlying cause before returning the equipment to service.
In hygienic processing systems, reliable sealing depends on the complete connection—not just the gasket. Correct component selection, careful installation, and consistent maintenance help support dependable operation and reduce recurring leakage.